This versatile tool is easy to use and much quieter than a router!
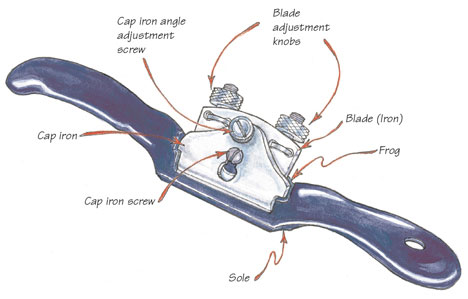
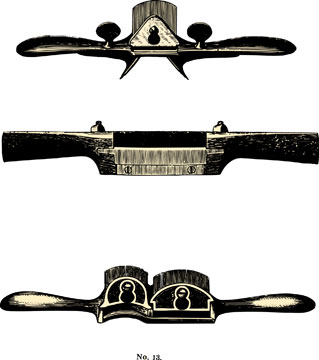
It’s a humble little tool with a working class pedigree, so simple in concept that a person can actually build their own spokeshave if they like. Configured like a small plane, with a blade (or iron), frog and cap iron, there were a wide variety of historically significant spokeshaves ubiquitous in shops around the country and the world (Photo 1). Like any tool of this sort, proper setup — most importantly, a very sharp iron — is essential for successful use.

Getting Started
Whether you’re starting out with a brand new spokeshave or you’re putting an old workhorse back in service, you’ll need to remove the blade and put an ultra keen edge on it. Next, put the iron back in the tool, allowing the cutting edge to protrude below the sole of the spokeshave by the thickness of a human hair. Check to be sure that the blade extends evenly across the opening (it should be “square” to the sole).

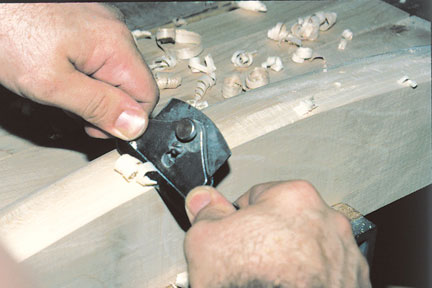
Now you can get a couple pieces of scrap wood and start making some cuts (Photo 2). The spokeshave is great for flush trimming hardwood edging on plywood or chamfering edges — you can form spindles with them and shape edges on solid wood. Forming a gentle bullnose is easy to do, and you can even listen to the ball game while you work.
Variety in Form
A special form of the spokeshave, called a travisher, has a convex blade and is used for forming the saddle (butt cheeks) on a chair seat. As you can imagine, this tool can also be used for a number of other shaping tasks. Curiously, while many woodworkers are more comfortable pulling the spokeshave towards them as they cut, spokeshaves in general are actually designed to be pushed (much like a plane).

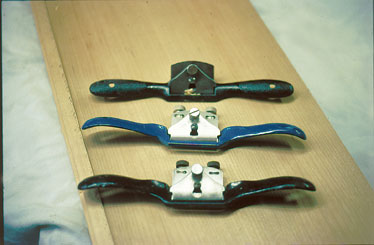
A spokeshave’s body can be made from metal or wood and comes in many different shapes and sizes (Photo 3). You can often find them dirt cheap at garage sales, and obviously, buy them new. Inexpensive and versatile, the spokeshave is a pleasure to own and use!


