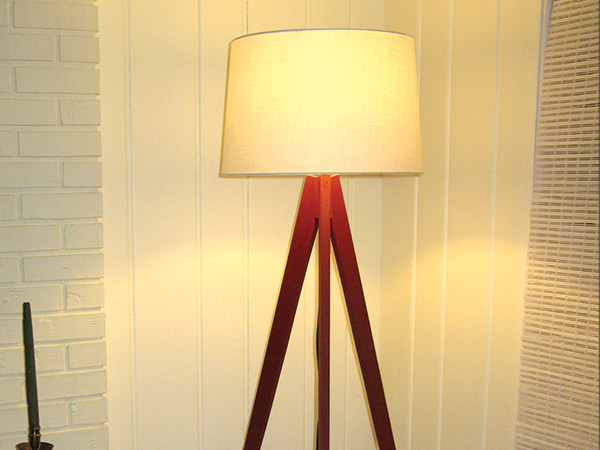
You know what I love? Trendy furniture that makes my house look great and me feel wonderful. But you know what I hate? Paying hundreds of dollars for it. So what’s a person to do?
The obvious answer is make it myself, which is exactly how I created this awesome tripod lamp that looks perfect in my living room. The best part is that by doing it myself — with a bit of help from Woodworker’s Journal publisher Rob Johnstone — I brought the project in at less than a hundred bucks.
Basic Materials, Basic Tools
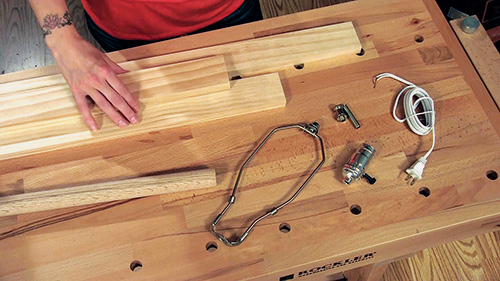
The materials used here couldn’t be more basic or easier to find. You’ll need three 6′ pieces of clear 1×3 pine. Dimensional lumber like this is a staple at any big box store or lumberyard. If you can, dig around in the stacks to get the straightest pieces you can find. The other piece of wood you’ll need is a length of 1-1/4″-diameter hardwood dowel (a closet rod works fine).
For hardware, you need what’s called a lamp “harp” — the wire-like frame that holds the lampshade — as well as a light socket and threaded mounting rod about 2″ long. These components are frequently sold together as a kit for around $10, and most home centers and hardware stores carry them. If lamp wire isn’t included in the kit (it probably is), pick up a lamp cord with an attached plug in a length of your choice.
You’ll also want a lampshade, of course, but you may want to wait till the lamp itself is done and placed where you plan to use it. That way, you can exactly match the lampshade size, shape and color to the room.
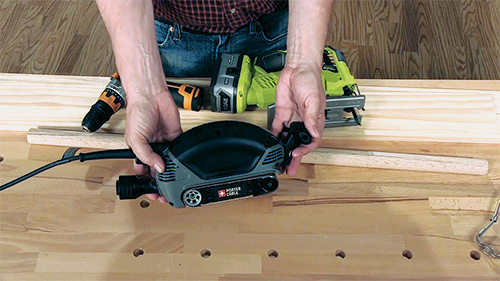
The three tools we used were a handheld jigsaw, drill/driver and a small belt sander. A sanding block with some 100- to 150-grit paper will also come in handy, as will a straightedge and ruler.
Finally, have some wood glue and a handful of 1-1/4″ screws ready for when it’s time to begin the assembly.
Get Cutting
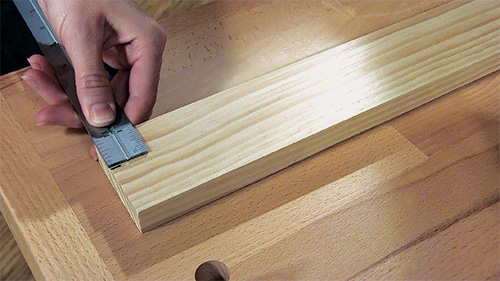
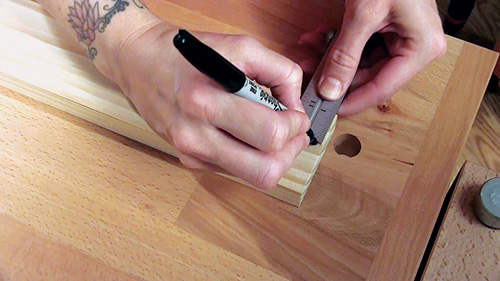
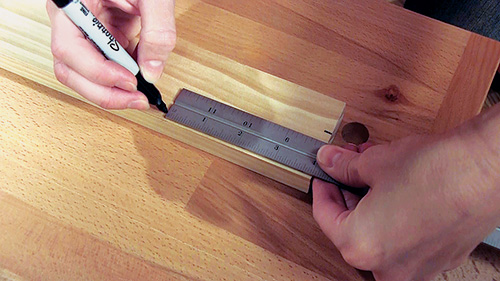
Begin by cutting the legs to length per the Material List. Outline the shape of the top of the leg onto one of the pieces by marking a line at 1″ in from one edge, and at 4″ down. Now, just connect the dots.
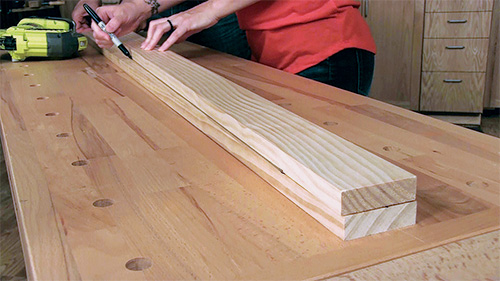
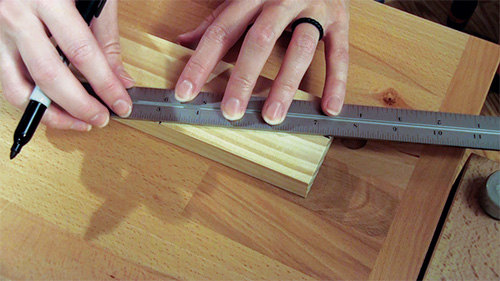
To mark the leg taper, go to the other end of the workpiece and mark 1″ in from the edge. Now, just use one of the other pieces of lumber as a straightedge to draw the long, tapering line. Clamp the marked workpiece to your bench or work table, placing clamps so they won’t block your jigsaw as you cut.
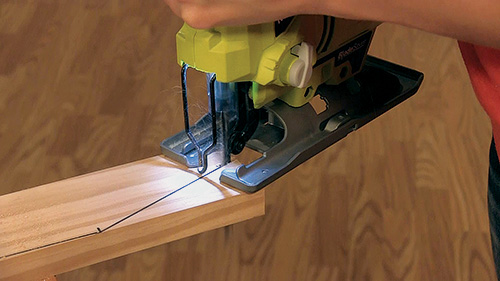
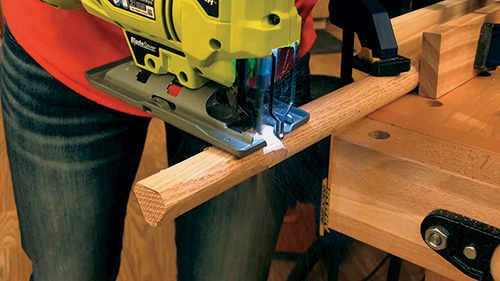
Install a fresh wood-cutting blade into your jigsaw, and cut just outside the marked lines at the top of the leg. (Save this small triangular cutoff for later.) Continue by making the longer tapered cut exactly like the shorter one. Unlike the shorter cut, this one may require you to reposition the leg and clamps to keep the cut line clear. You could repeat this process for the two remaining legs, but it’s easier to use the first leg as a pattern for the next two. It saves time and is a little quicker.
Gang’s All Here
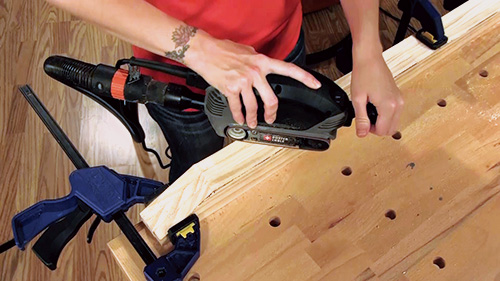
Gang sanding is a fast and easy way to churn out multiple components with a single setup. Arrange the three legs on a workbench with their back edges aligned and flat to the bench, and clamp them together.
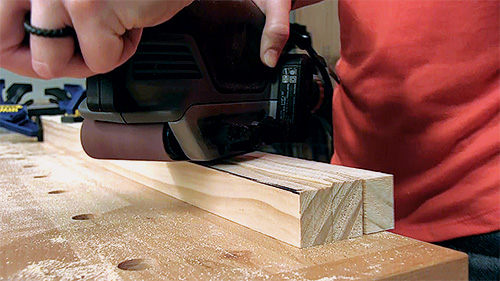
If one workpiece rests higher than the others, place it in the middle of the group and sand it down until it meets the edges on either side. This will help keep the sander level as you work.
Sanding and Shaping
At this point, the legs are rough-cut, plus they likely vary a bit, so we’re going to do what’s called “gang sanding” to smooth and refine the shape of all three legs at the same time. Clamp them together as a set, then clamp the set to your workbench. With a coarse belt installed (60- to 80-grit), sand your cut edges until they all match. Take care, however; belt sanders can remove material very quickly.
As you sand, move the sander smoothly back and forth on the cut face of the legs. Stop and check how you’re doing as often as you think it’s necessary. Keep in mind that belt sanders create copious amounts of dust, so hooking your sander up to a shop vacuum or dust collector is a good idea. With the legs uniformly shaped, use a sanding block with finer grit paper to smooth out any belt-sanding marks.
It’s easy to see that a belt sander is the tool of choice here. However, you could do it with a random orbit sander (although it would take longer) or with a hand plane if you’re familiar with one. With the legs completed, move on to the connector that ties everything together. This is just a dowel with flat facets sanded into the sides. Arranged in a triangle, these facets are 60° apart and 3/4″ wide.
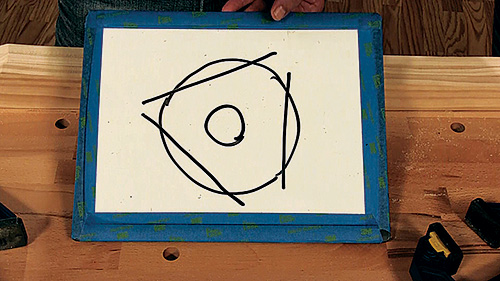
The flat ends of the legs are glued and screwed to the connector facets, while a 3/8″ hole drilled through the connector accepts the lamp hardware. Transfer the triangle to the end of the dowel and secure it to your workbench for sanding. The idea is to create a flat area about 3/4″ wide to match the thickness of the legs. Remember that triangular cutoff I told you to save earlier? Use that as a gauge when sanding to check for facet flatness and width.
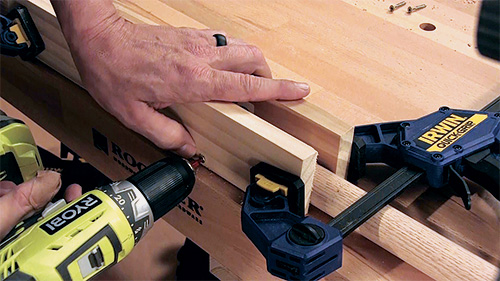
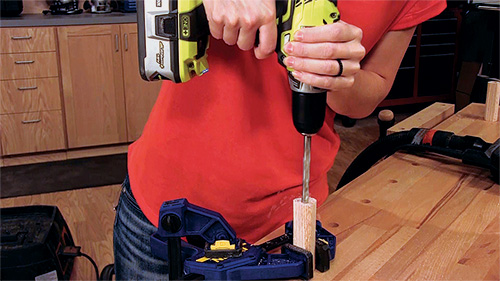
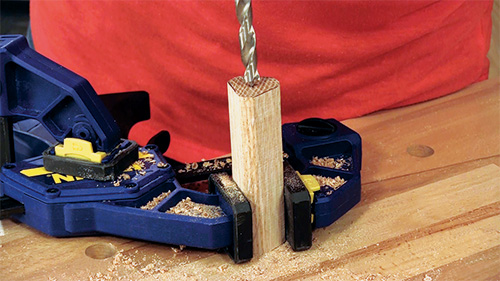
With the facets done, cut the connector to its 4″ length and drill a 3/8″ hole through it. Your bit probably isn’t long enough to do this all at once, so drill halfway, then flip it and drill the other way till the two holes meet in the center.
Make the Connection
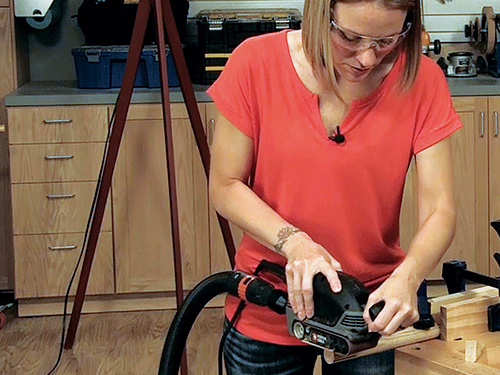
In order to safely and easily sand the triangular facets onto the leg connector, you need to be able to clamp it securely.
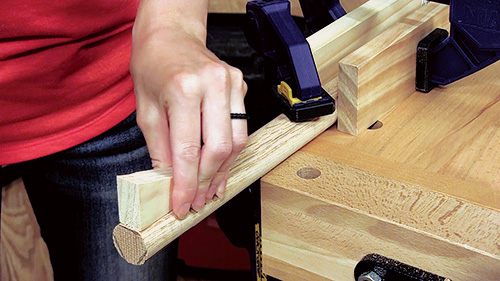
That’s a piece of cake if you have a bench with a vise— but here’s a workaround if you don’t.
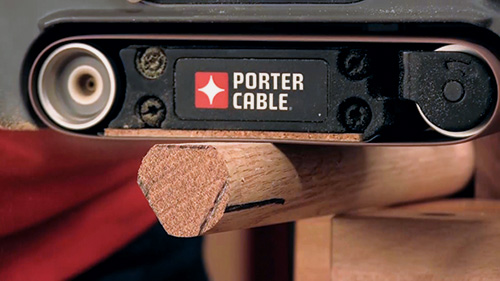
The connector is only 4″ long, but don’t cut it to length just yet.
Instead, allow at least an extra foot of waste at one end, then attach some scrap to the sides of the dowel on the waste end with short screws to create a simple subassembly.
Now, just clamp the whole thing to the top of the bench.
Once you’ve created the three facets of the connector with your belt sander, cut the connector to its final length and drill it for the lamp hardware.
Putting It All Together
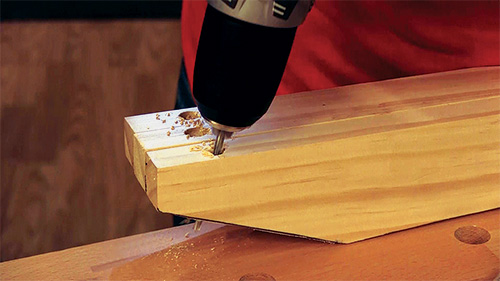
Begin assembly by drilling pilot holes for 1-1/4″ screws that will secure the legs to the triangular leg connector. The trick is not to drill too deep, or the screws will extend into the hole drilled through the leg connector, which would interfere with mounting the lamp hardware.
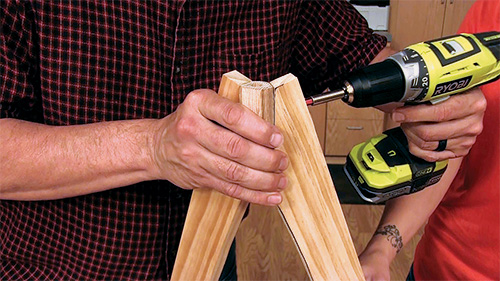
I used the old trick of putting some tape on the drill bit to indicate the stopping point for the holes. Because of the angle of the leg end, keep in mind that you need to go slightly shallower on the upper holes.
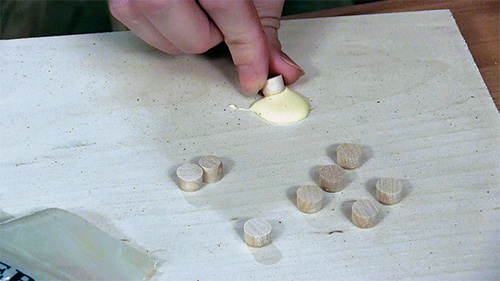
Start the holes with a 3/8″ bit to create a shallow counterbore. Then use a smaller bit to complete the pilot holes. To attach the legs to the connector, put a thin coat of glue on both the facets and leg ends, then rub them together. When they tack, drive the 1-1/4″ screws into the connector through the pilot holes.
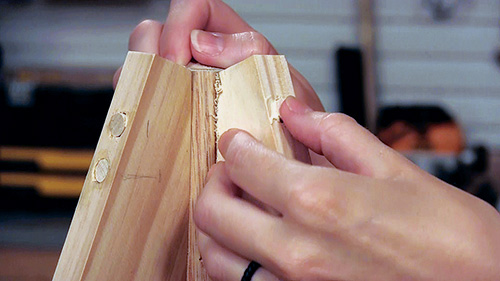
Wipe off excess glue from the joint, then glue wooden plugs (from rockler.com; item 23499) into the counterbored holes to hide the screws. When dry, sand the plugs flush. It’s a good idea to add your finish now. The lamp base may be stained, varnished or painted in any way that best goes with your décor.
Now, Let’s Light It Up
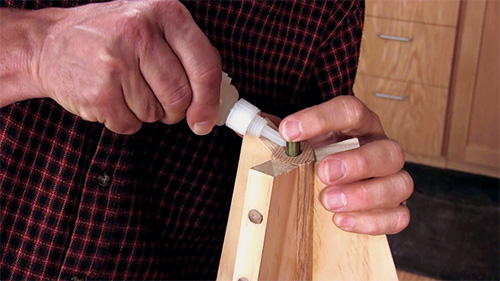
Electrical hardware and wiring can be intimidating, but a lamp is a perfect introduction that you’ll certainly use for future projects. Start by putting the threaded rod in the connector using a bit of Super Glue to secure it. Then thread the socket onto the top of the rod. Pull the socket out of its mounting and slip the cord up through the connector. Split the end of the cord if it didn’t come that way and tie a knot in it to keep the wire from pulling back through the hole.
Strip the sheathing to expose the wire and then attach it to the screws on the lamp socket. There is a smooth wire and one with a ridge or rib on the sheathing. The ridged wire (neutral) attaches to the silver-colored screw, and the smooth one to the other screw, usually copper or brass-colored — super easy!
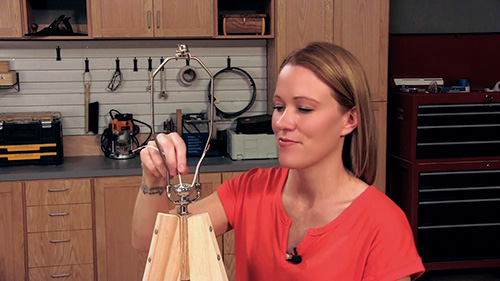
Reassemble the socket and slip the harp into the holders on the sides of the socket. Then remove the top finial, set the lampshade of your choice atop the harp, and replace the finial to secure the shade to the socket.
Add a light bulb, and that’s it. I now have a fabulous “designer” lamp that might have cost more than $400 in a store, but I made it for a fraction of that. And you can, too! Enjoy the project.
Click Here to Download the Drawings and Materials List.
Kristena Smith is currently a stay-at-home handy-mom in Minnesota.


