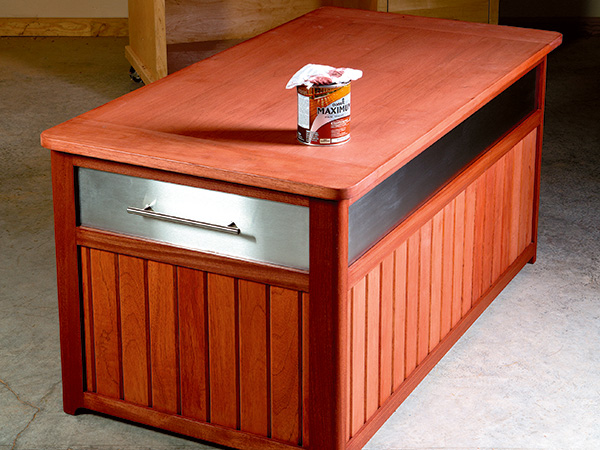
A “deck box” is helpful for storing outdoor cushions, yard or pool toys and gardening supplies, but the home center options for these containers leave much to be desired. Many are made of lightweight plastic that tends to fade and fail after a few years. Why settle for flimsy when you can build a sturdier and better-looking chest yourself? Ours offers nearly 14 cubic feet of storage space. We made this one from Spanish cedar (a rotand insect-resistant South American hardwood), but cedar, cypress, mahogany or even painted pine would be other good options. The top panels are covered with sheets of stainless steel and accented with stainless handles to give this chest a contemporary look that matches today’s trendy grills and patio appliances. Here’s how to build one for your yard goodies.
Making the Frame
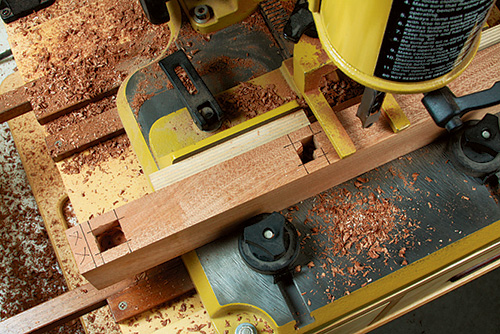
The chest’s legs (pieces 1) are joined to the long and short frame rails (pieces 2 through 5) with sturdy mortise-and tenon joinery. Start by surfacing stock for all of these parts to 1-1/2″ thick, then cut the legs and rails to width and length, according to the Material List dimensions. Since the top mortises of the legs stop just 1/4″ from the part ends, leave the legs overly long for now to prevent splitting their ends during mortising.
Lay out the leg mortise locations, using the Drawings as a reference, and choose your favorite method for hogging out their waste. We opted for a hollow-chisel mortising machine, which squares the 1″-deep mortises as it cuts them. A drill press, 3/4″-diameter Forstner bit and a sharp chisel would work, too. When the mortises are done, trim the legs to length.
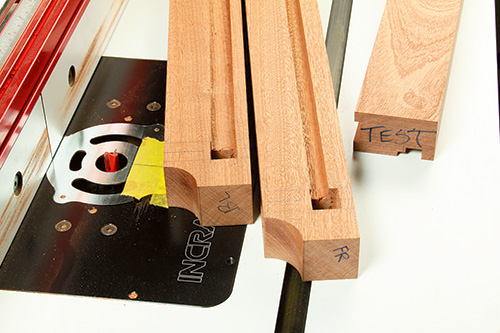
The bottoms of the legs have a 1″-radius cutout on their inside corners, so lay these out and cut them to shape with a jigsaw or band saw. Drum-sand the cutouts smooth.
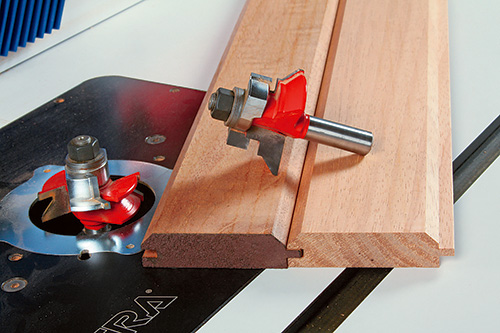
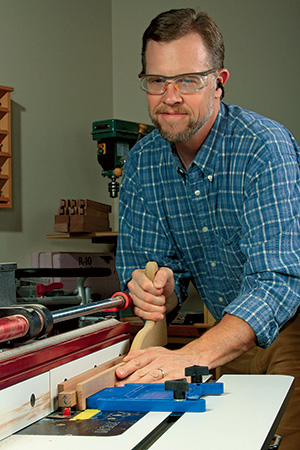
Notice in the Drawings that the chest’s V-grooved slats and metal-skinned top panels must fit into 3/4″-wide grooves in the legs and rails. Cutting these grooves is your next task, and for that we headed to the router table to round up a 1/2″ straight bit. You could use a 3/4″-wide straight bit also, but the challenge here is to line up the grooves perfectly with the leg mortises; a narrower bit can allow you to sneak up on that alignment more easily. To rout the leg grooves, mark your bit’s cutting limits on the router table first so you’ll know where to start and stop these cuts.
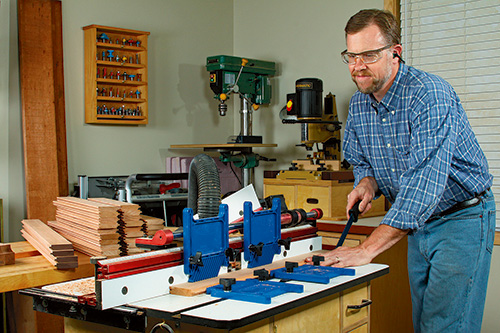
When you’ve connected the leg mortises with grooves, head to your table saw to raise tenons on the ends of the rails. Size the tenons so they’re slightly thicker and wider than necessary; this way you can refine their fit by hand.
Gather up the rails and head back to the router table to mill continuous, 3/8″- deep grooves along inside edges of the top and bottom rails and along both edges of the middle rails. Again, move the fence backward to widen these groove cuts as needed. Once the grooves are finished, dry-assemble the legs and rails to create the chest framework. Use a shoulder or rabbeting plane to shave the tenons for an easy friction fit in their mortises.
Adding Slats and Top Panels
The vertical slats that wrap around this chest are going to expand and contract slightly as the humidity changes from season to season, if you make them from solid wood, as we did. But, with a little planning, that’s not problematic. A tongue-and-groove joint between each pair of slats is a good solution here: regardless of shrinkage, the slats will still keep the chest contents dry because their joints can open up slightly without creating gaps. And, you can simply dry-assemble the slats in their grooves without gluing them together so they each can expand and contract independently but still hold position correctly inside the leg/rail areas.
Freud Tools offers a handy V-panel Bit Set (item 99-191) that cuts both an attractive “V” profile as well as a tongue-and-groove joint. But, if you’d rather not invest in these cutters, you can duplicate the same effect with a V-groove bit and use other common options for the tongue-and-groove portion. Either way, cut 54 slats (pieces 6) to width and length, and mill the edge joinery at your router table. Once their edges interlock easily, you’ll need to rip the two outermost slats narrower for the front/back and side assemblies (see the Drawings). Doing this will provide these panel assemblies about 3/4″ of expansion space along the rails to allow for seasonal changes. Give all the slats a final sanding, and pre-finish them now. We brushed on a combination deck stain/sealer with UV additives. It offers coloring and protection in one easy-to-renew step.
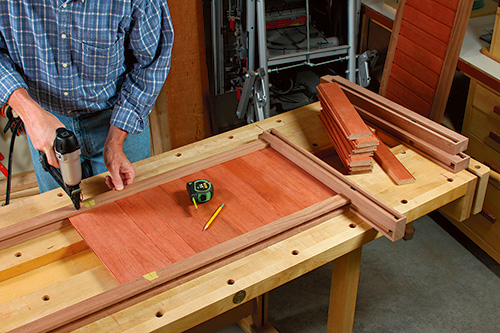
Once the finish dries, you’re ready for some assembly. Glue a bottom and middle long rail to two legs to begin forming front and back chest subassemblies. For clamping purposes, it’s fine to dry-fit the opposite legs into place. When the glue dries, pull off the loose legs and fit the end and intermediate slats in place “dry.” Use a centered, 1-1/4″ brad-nail to pin the middle two slats of each assembly to the rails to hold position. Drive these brads through the inside faces of the rails in the groove areas. Then spread out the other slats on either side of the fixed center slats evenly, allowing about 1/32″ gap between them. Tack the rest of the slats in place now, too, with a centered brad, top and bottom.
Set these partial front and back subassemblies aside for now so you can prepare the metal-skinned front, back and side top panels (pieces 7 and 9). We made them from solid wood. When you plane them to thickness, be sure to allow for the thickness of the metal facings (pieces 8 and 10) you plan to use: our stainless steel was 24-gauge, so about .024″ thick.
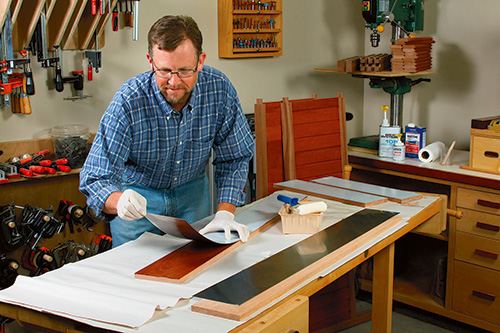
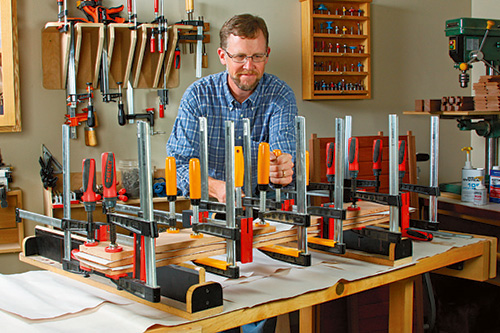
Since these wood panels are relatively narrow, their potential cross-grain expansion is minimal. So, we simply rolled on a coat of slow-setting marine-grade epoxy to one face of each panel, set the stainless in place and clamped the four panels together to press them flat until the adhesive cured. Give the epoxy overnight to fully set, then pull the panels out of the clamps.
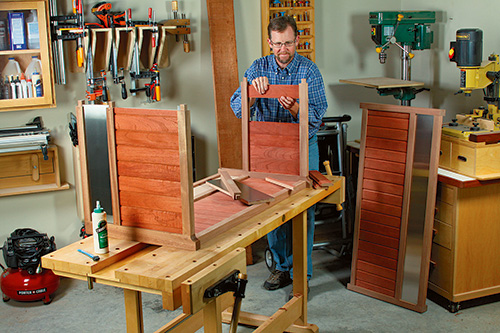
In the meantime, you can rout a shallow mortise in the top back rail for the lid’s piano hinge. It’s a simple “drop cut” at the router table, with a 3/4″ straight bit set for a 5/8″-wide exposure and raised 1/16″ above the table. (Make sure the mortise opens toward the back face of the back rail when arranging the cut.) Square up the ends of the mortise, then go ahead and complete your front and back chest subassemblies by sliding the top panels into their grooves and gluing on the remaining legs and top front and back rails. Make sure the metal is facing out in the direction of the V-grooves before gluing and clamping those final legs and rails in place! After the glue dries, flatten the leg/rail joints as needed, and sand the bare wood smooth.
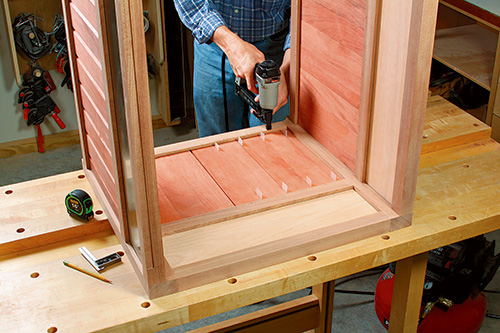
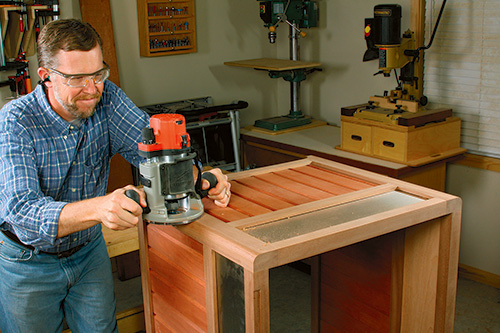
Completing the chest carcass is a repeat of what you’ve already done: glue the six side rails to one of the two subassemblies first. Let those joints dry before tacking in the side slats, adding the top panels and gluing the other big subassembly to it. When the clamps come off, ease the outside edges of the legs with a 3/4″-radius roundover bit, then sand and topcoat the rest of the bare wood.
While the finish dries, cut the chest’s bottom panel to shape from exterior-grade plywood, and make up four long and short cleats (pieces 11 through 13). Sand and finish these parts before installing them in the chest. Screw the cleats to the inside faces of the bottom rails, flush with their bottom edges, then fasten the bottom panel to the top edges of the cleats with more screws.
Building and Attaching the Lid
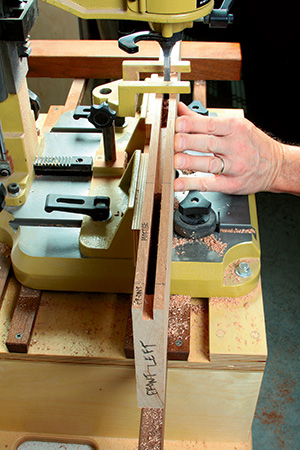
You could use a single solid panel for the lid, but we’ve added breadboard ends to help the panel resist warping and to give it some woodworking panache. The lid and two ends (pieces 14 and 15) are connected by haunched mortise-and-tenon joints. As the Drawings show, the three tenons on the ends of the lid are separated by solid wood areas in between, which strengthen the joints.
The front tenons fit into snug mortises, but the center and rear tenons have wider mortises so the panel can expand and contract to the rear. Fashion these joints by first milling a centered groove along the inside edges of the lid ends. Make it 5/16″ wide and 1/2″ deep. Now cut the six, 1-1/4″-deep mortises inside these grooves.
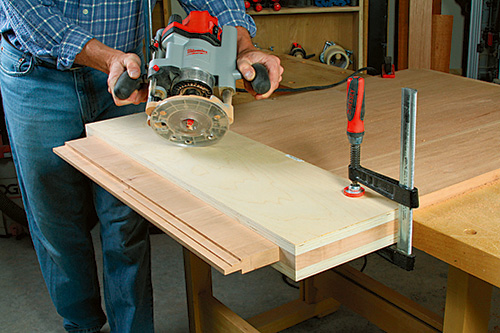
We created continuous 5/16″-thick, 1-3/4″-long tenons on the ends of the lid next, using a wide straight bit in a router and running the edge of the router’s base along a wraparound edge guide made from scrap. The jig ensures that the tenon shoulders are perfectly aligned on both faces of the panel. Rout the tenons in several stages, deepening the cuts until the final tenon thickness is achieved, and then shifting the straightedge back to make subsequent rounds of cuts to lengthen the tenons.
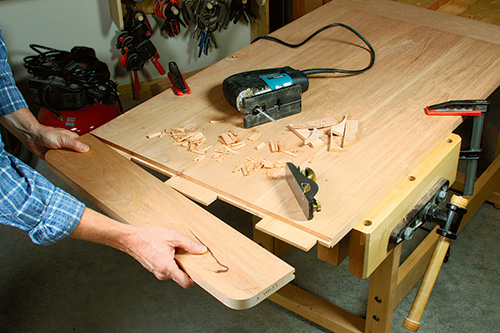
Three rounds of resetting the edge guide should be enough. Use a jigsaw to convert the two long tenons into six shorter ones and to shape the outside corners of the lid ends into 1-1/2″-radius curves. Plane the tenons thinner as needed until the lid and its ends come together in a good friction fit.
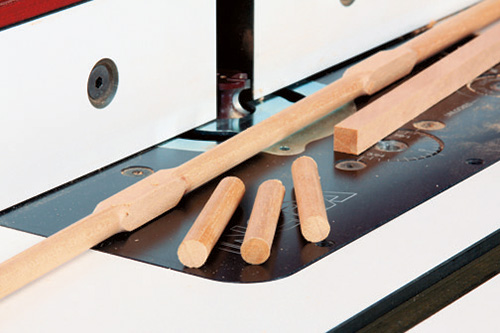
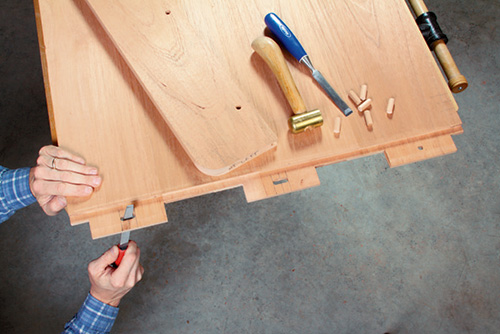
While the front tenons can be glued and pinned into their mortises, the center and rear joints will need to be pinned through slotted holes in the tenons so the panel can expand and contract. Use a 3/8″-diameter brad point bit to bore the centered dowel pin holes through the assembled lid, then pull the pieces apart and widen the middle and rear holes into 1″-long slots. Once the joinery is completed, glue only the front mortise-and-tenon joints, and tap six 3/8″-dia. dowel pins (pieces 16) home. Sand the lid to flatten the dowel areas and smooth it, and apply finish.
Closing the Chest Project with Hardware
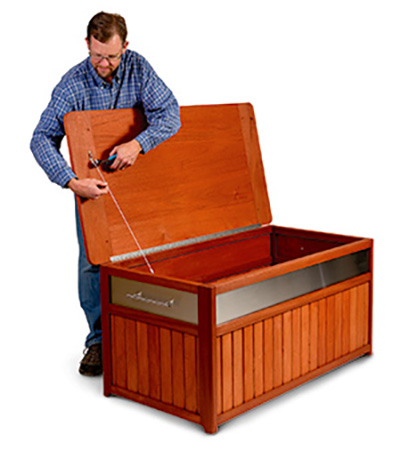
Your storage chest is nearly finished! Attach some sturdy handles (pieces 17) to the side panels, and cut a length of piano hinge (piece 18) to fit its mortise. Mount the lid to the chest, driving hinge screws into every hole. Make sure the outermost screws stop short of the breadboard ends so as not to impede wood movement. Then add a lid stop: we strung a length of 3/32″ galvanized steel cable between two eyelets mounted to the lid’s bottom face and one of the top side rails. Make the cable long enough so the lid tips back a few degrees past vertical.


