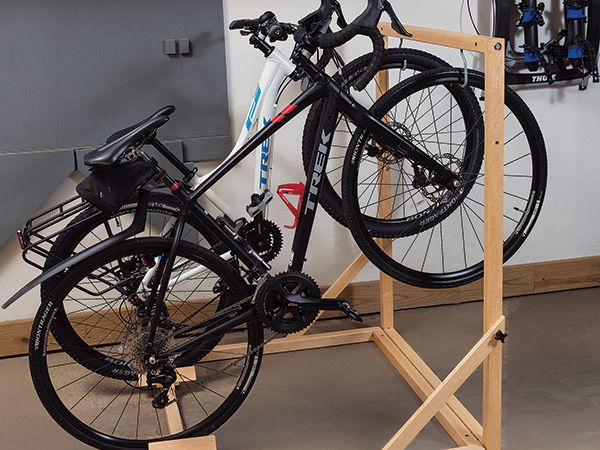
For whatever reason, bicycles often get no respect when it comes to how they’re stored. It seems they often wind up rusting in a damp corner of a basement or hanging unceremoniously from a garage rafter. As an avid cyclist, I want to do my part to rectify this wanton disrespect with this sturdy, easy-to-build rack, which also encourages cycling because it provides easy access to your bikes.
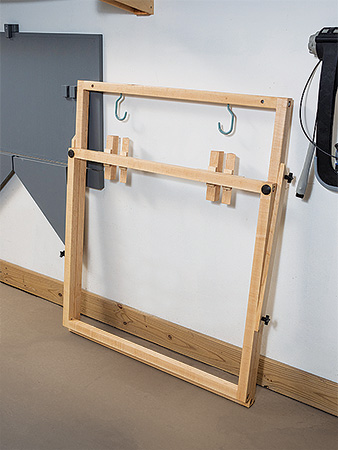
This rack folds and is freestanding, so it doesn’t require that you drill holes in your walls or lower your bike from an elevated spot like wall-mounted racks do. It’s also relatively lightweight (approximately 25 to 30 pounds) and can be built with readily available materials and hardware. And, with a few bungees to secure the rack and its load, it can be used to transport bikes in the back of a pickup truck. Although it may not be ideal for everyone’s bike storage needs, it’s very convenient if you have the floor space. Almost any type and size of adult bike with tires up to about 3″ wide will fit the rack.
Tools and Materials
You won’t need many tools: mostly just a band saw or table saw (or both), a router table, a handheld drill and a basic set of hand tools. If you want to mill your own wood, you’ll also need a jointer and a planer. (It’s aways better to mill the stock yourself to ensure straight, square workpieces, but it’s not essential.) I made the rack out of 8/4 hard maple, but birch, ash and oak are also good choices. However, construction lumber and poplar probably won’t be strong enough for this project. If you’re unable to get 8/4 lumber, you can glue thinner boards together to achieve the necessary thickness. You’ll need about 10 bf of rough stock. Most lumberyards that sell hardwood can mill the stock to thickness, but you’ll need to cut it to size.
Make the Wood Joints
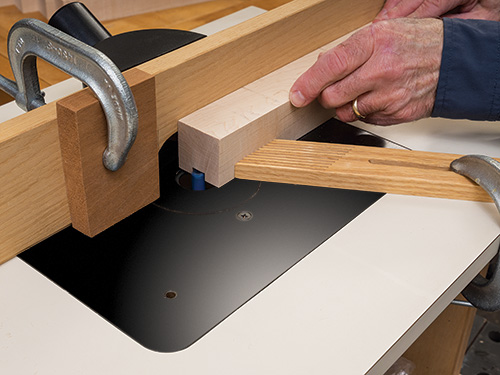
The joinery consists of stub tenons on the rail ends and stopped grooves in the stiles. They prevent the square-section workpieces from twisting, but alone they don’t provide enough joint strength. That’s achieved with the hardware: bolts and cross dowels.
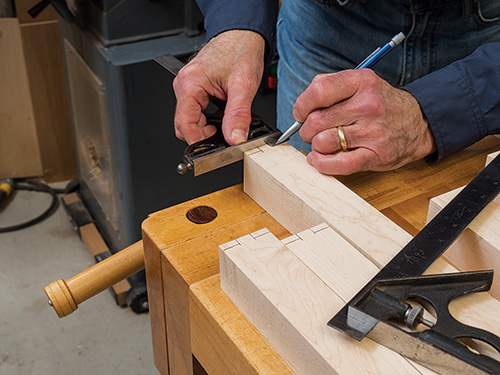
The joints are easy to make using a table saw or band saw and a router table, but practice on some scrap stock first. You’ll want to have a few extra pieces of 1-3/4″ x 1-3/4″ stock on hand for these test pieces to check the joinery before committing to the actual workpieces. (If you’d like a simpler joinery method than the tenons and grooves, you could use a few small dowels at each joint to pin the mating parts.)
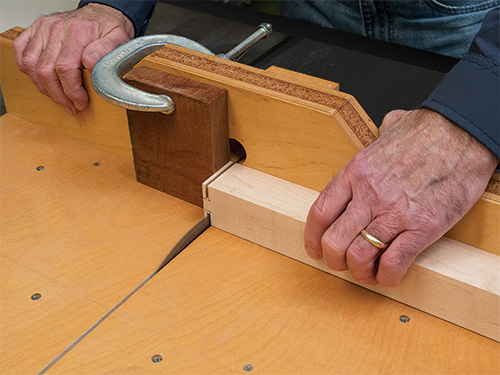
Once you mill and cut the parts to size, lay out the joinery. To keep mistakes to a minimum, it’s aways advisable to label all the parts with numbers or letters and indicate where and how they join corresponding parts. It’s easy to get parts mixed up even with a relatively simple project like this.
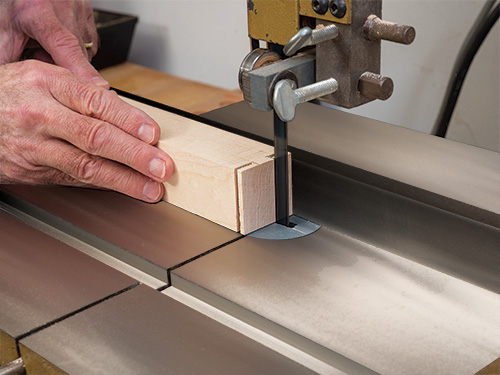
First, rout the stopped grooves in the stiles, preferably on a router table. That establishes the groove width so you can cut the mating tenons to fit. Cut the tenon shoulders before the cheeks. Then cut the cheeks on a test piece, just a little wide at first. Although the fit doesn’t need to be perfect, it should be close and not loose. Once you’ve cut joints on all the parts, check the fit at each joint and make any necessary adjustments with a sharp chisel.
Install the Joint Hardware
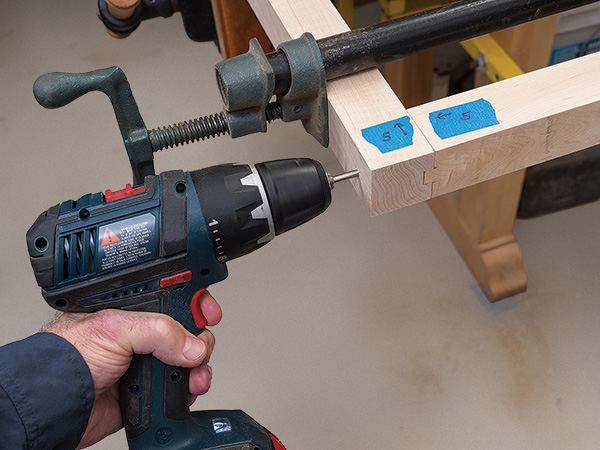
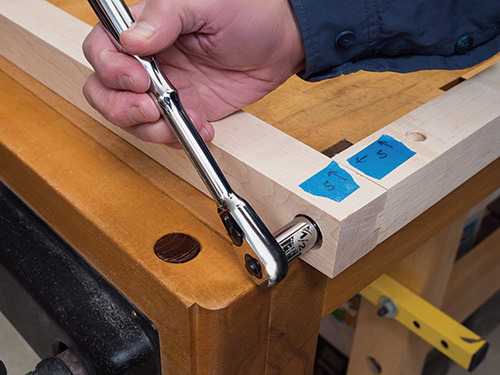
You can bore all the holes for the connecting bolts and cross dowels with a handheld drill, but you’ll achieve a better fit if you use a drill press to first bore pilot holes in the stiles. Use a small bit — 1/4″ or less — for the pilots, and then use the holes as a guide to drill counterbores for the bolt heads with a 7/8″-dia. Forstner bit. Use pipe or bar clamps to hold the frame together when enlarging the holes to 5/16″ dia. If the bit isn’t sufficiently long, you may need to take the joints apart to drill holes that are deep enough in the rails.
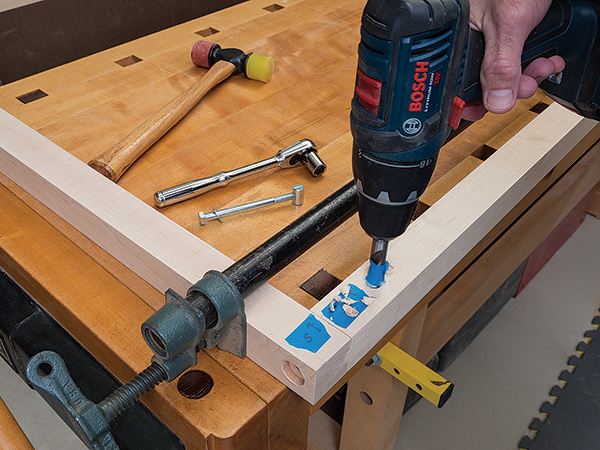
Finding the correct position for the cross dowels can be tricky, so use the joint test pieces to confirm your measurements. For the strongest joint, the cross dowel should be located as close to the end of the bolt threads as possible and centered in the stock (see Drawing). Install the bolts and cross dowels as soon as you’ve completed boring all the holes. There’s no need to glue the parts together. The bolts provide plenty of strength without glue and allow you to knock down the stand to its individual parts if necessary.
The piano hinge that enables the frame to fold up is a snap to install. Simply lay the bottom (horizontal) frame, with its bottom side up, on top of the top (vertical) frame, with its front side up. Place the bottom frame so its inside rail and the top frames’s bottom rail are offset to form a 90˚ corner.
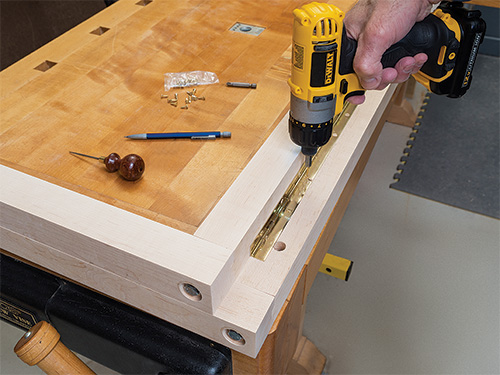
Then center the hinge and drive a few screws to hold it in place. Now you can bore the screw holes and drive the remaining screws. You’ll need to remove the hinge from the frames along the way, but it will be easy to reinstall it, now that all the holes are set.
Position the Frame Supports
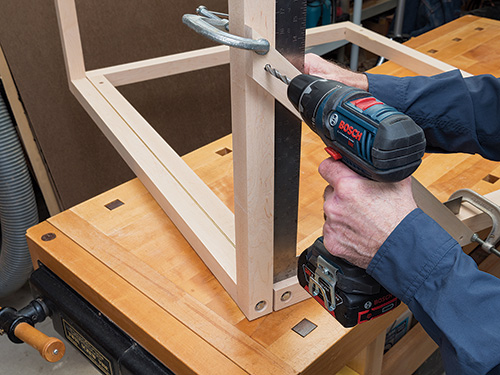
The frame supports tie the two frame halves into a single rigid structure using threaded male knobs and threaded inserts. First, cut 45˚ miters on each end of the supports. Don’t worry if they’re not exactly 26″ long; close is good enough. Bore the 5/16″ holes for the knobs in each end (see Drawing). Now you’ll need to fit the supports to the frame. Although you can measure to find the positions for the threaded inserts, it’s more accurate to use the support as a template to locate the exact position. Use duct tape to secure a carpenter’s square to the frame to hold it perfectly square. Then bore though the holes in the support just enough to mark the threaded insert positions on the frame.
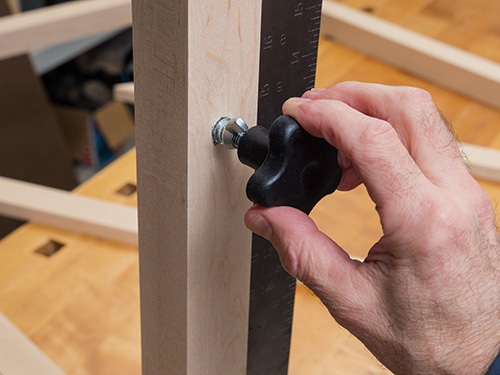
There’s no set size for the threaded inset holes; it depends on the hardness of the wood. The holes will need to be larger with maple than with birch or ash because it’s harder. Use some scrap and experiment. Rather than installing the inserts with a screwdriver and risk damaging the threads, use a bolt or knob and lock it in position with a nut or wingnut; then just twist or use a wrench to install. There’s one extra threaded insert you’ll need to install on the vertical frame (either side is fine). It’s used with a frame support to keep the two frames secured together in the folded position. Locate the position of this insert when the stand is folded.
Refine and Finish the Rack
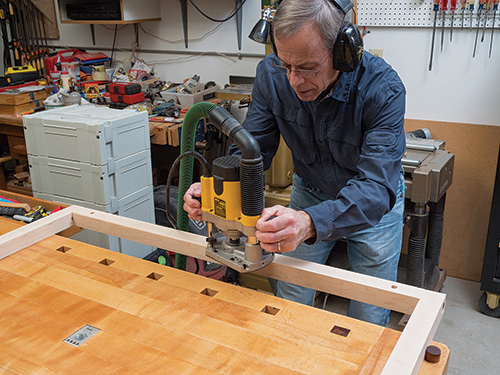
Easing the edges and sanding can be done while the stand frames are assembled but with the hinge removed. A 3/16″-radius roundover bit is about right to ease the top and visible edges. There’s no need to rout all the edges; sanding is sufficient for the bottom and back edges. And, considering the purpose of the stand, 120-grit paper will produce an adequately smooth surface. Do all the routing before sanding, though.
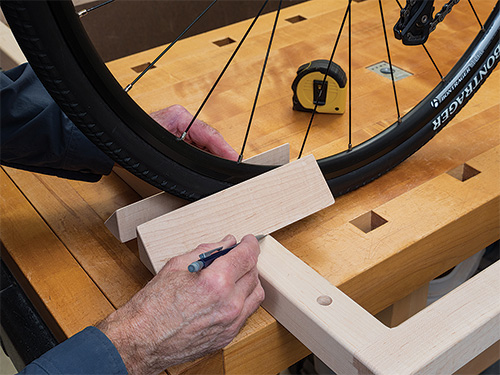
The rear wheel braces are what keep the bikes upright and stable on the stand. They need to fit around the tires snugly, so you should take care making them. Make them from the same square stock as the frame. Simply cut the square-section stock diagonally using a band saw or table saw to make two parts from one piece of stock. Although it’s possible to attach the braces directly to the frame, the brace platform and guides allow easy adjustment for different tire widths. If you don’t plan to store more than two different bikes on the stand, attaching the braces directly to the frame will save you some time and effort. And if you only need to make a few width adjustments, you can skip routing the adjustment slots in the platforms.
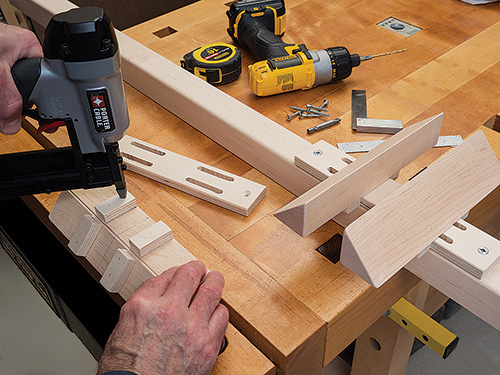
The brace platforms and guides are made from 1/2″ Baltic birch plywood, but solid wood works well, too. If you rout the adjustment slots, first bore a series of holes along the slot centerline to make routing easier. Use a router table with a fence, and carefully lower the workpiece onto the spinning bit. But be sure to keep your hands out of the path of the cut.
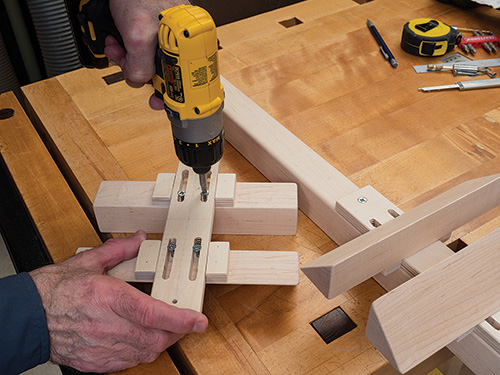
The brace guides keep the braces aligned and prevent them from rotating under load. Glue the brace guides to the bottom of the wheel braces using the platform as a spacing gauge. A pin nailer can speed up the assembly and ensure that the guides are securely fastened. Once you’ve completed the wheel brace assemblies, screw them to the bottom frame, centered about 10″ from the edge of the frame. Then install the bike hanger hooks on the top vertical frame rail. Now you can check that your bikes fit properly.

The rack may not be a piece of furniture, but a film finish will help protect it from dirt and moisture and prolong its life. Maple isn’t very porous, so one coat of wipe-on varnish or water-based polyurethane is all that’s needed. Finally, install anti-skid feet to the bottom of the rack. Now that you’ve finished the rack, maybe you’ll be inspired to inflate your bike’s tires and take a nice long, scenic ride.


