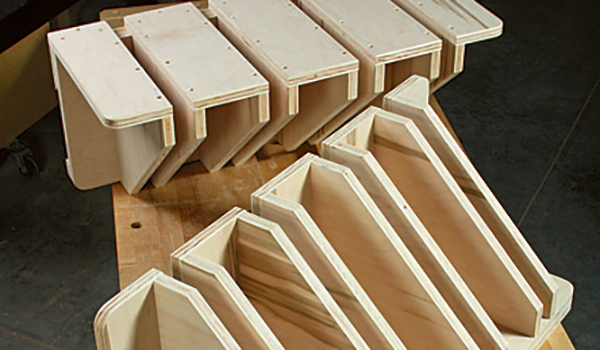
These compact but capacious racks will keep your clamps orderly, and all you need is one 4 x 8 sheet of plywood to make them both. Each consists of four deep channels for storing rows of pipe, bar or quick-grip clamps over angled braces. Their back panels span two wall studs for strength, and the pair will shelve upwards of 80 or more clamps. French cleats make wall-mounting both sturdy and easy. It’s a lot of storage for $50 or so! Here’s how to make them.
Cutting the Parts to Shape
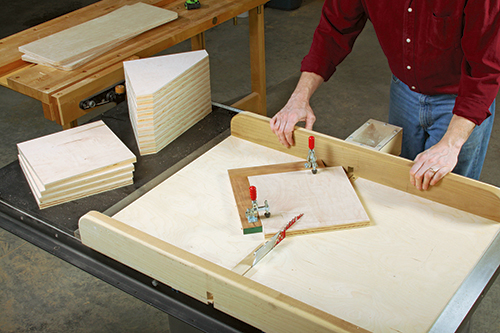
In order to squeeze both racks from one sheet, follow the Cutting Diagram carefully. Start by ripping the sheet into four, 11-1⁄4″x 8-ft. strips. Crosscut two 28-1⁄4″-long blanks from two of these strips to form the racks’ back panels. Round the bottom outside corners of the back panels to form 1″ radii.
The two remaining full-length strips are dedicated to the angled braces. First, cut them into 16, 11-1⁄4″ square blanks, then miter-cut one edge of each to 45 degrees, following the Drawings. A crosscut sled or a miter gauge with a long auxiliary fence will make this a quick job. Once those are done, cut to size the six bridges that will span each pair of braces, and make the four end pieces with one corner of each rounded to a 1″ radius. Notice in the Drawings that each rack has a cleat attached to its back with an edge beveled to 45 degrees. It will interface with a wider wall-mounted cleat, also beveled on one edge, to lock the rack to the wall. Cut both pairs of these cleats to size, and tilt your table saw blade to bevel-rip their angled edges. What’s left of your plywood sheet should be sufficient to make up four spacers. Each of them receive a single 1″-radius corner, too. Knock the sharp edges off of the back panels, braces, bridges and ends with a sanding block to prepare for assembly. That will help these rough-and-tumble racks resist splintering when you use them.
Assembly and Hanging
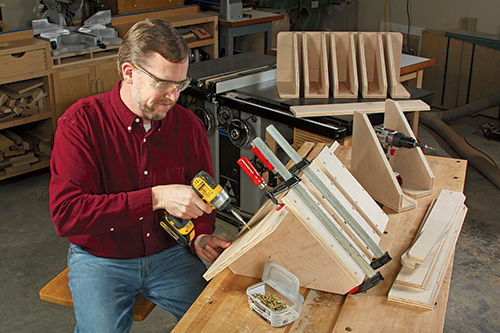
These racks are downright easy to put together, and that’s part of their charm: one afternoon’s work, and you’ll be done! For each rack, fasten three bridges to six braces with screws to form three main subassemblies. Note that the top back edge of the bridges will overhang the backs of the braces by 1-1⁄2″. Now grab more screws to attach the four end pieces to the remaining four braces, as shown in the Exploded View Drawing. I used 2″ countersunk deck screws and glue for assembling all of these parts. (I didn’t fuss with wood finish on my racks, but it couldn’t hurt. If you want the added protection, finish the parts before beginning the assembly process, while the part faces are fully accessible.)
Next, round up your back panels and brace components. Position three bridge subassemblies and two end assemblies 1-1⁄4″ apart on the back panels; this slot spacing will enable you to slide 3/4″ I.D. pipe clamps or the bars of most F-style clamps in and out easily. Drive a few brads through the back panels to tack the braces in place, then reinforce all the joints with more 2″ screws, spaced every 4″ or so.
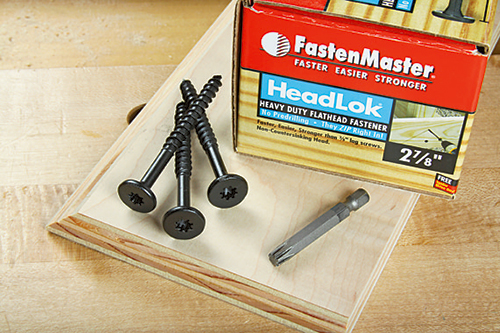
Attach the rack cleats up under the overhangs of the bridges and to the back panels with more screws and glue — face the angled edges of these two cleats down and in toward the back panels. Fasten a pair of spacers to the bottom outside edges of each back panel to complete the building stage.
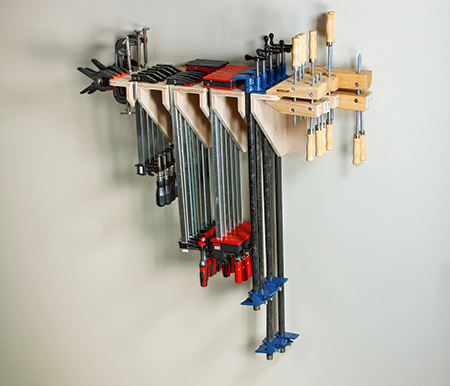
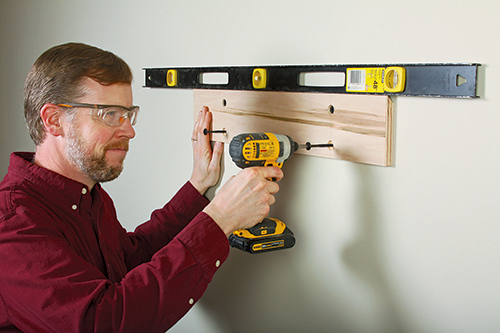
Secure the wall cleats to two wall studs, if at all possible. These clamp racks will be very heavy once fully loaded. Face the beveled edges of the wall cleats up and toward the wall before driving stout screws or lags into counterbored holes in the cleat. Then, set each rack on its wall cleat. Drive two more screws through the back panels and into the wall cleats to pin the racks in place. Now, load them up with clamps!
Click Here to download a PDF of the related drawings.


